Changing Which OutBack Radian Inverter is Designated as Master
NOTE: Changing the stacking for OutBack FXR/VFXR inverters will be slightly different but similar.
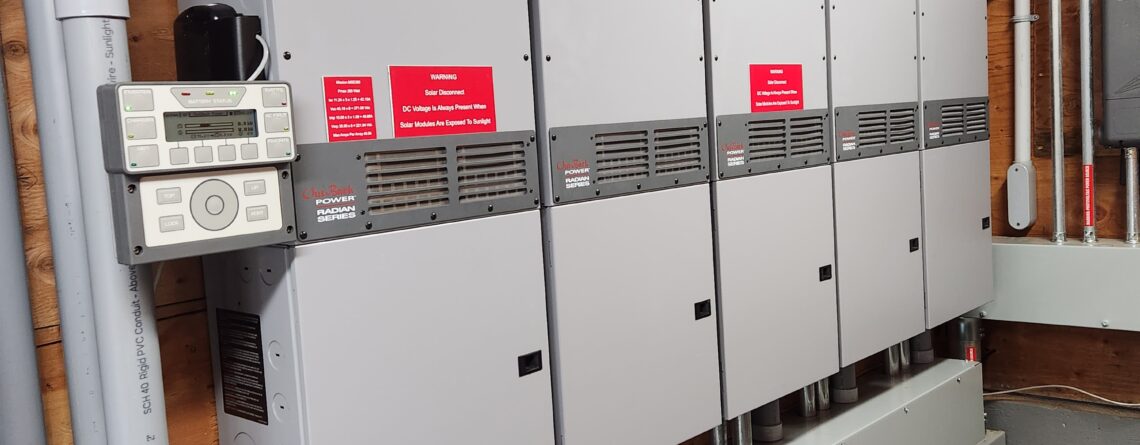
Some OutBack Radian grid interactive and off grid solar power systems have multiple inverters that work together to satisfy the power needs. In order to function as a single unit, one of the inverters must be designated as a Master (Primary), and the other(s) is/are designated as Slave (Secondary) inverters. This is called stacking.
In the event the designated master inverter malfunctions, your power system will not operate correctly and you will likely lose power. To get the system back up and running without having to wait for a service call, you will need to change which inverter is designated as the Master.
- Stacking changes cannot be performed remotely via OpticsRE.
- If you are running many loads you may need to reduce how many you are running to compensate for the 8,000 watt reduction in pass through power due to one inverter being offline.
IMPORTANT NOTE: The system will not produce power during these changes, so be sure to shut off all loads prior to changing your stacking configuration.
- Power down all inverters individually.
- Access the load center directly below each inverter by opening the door.
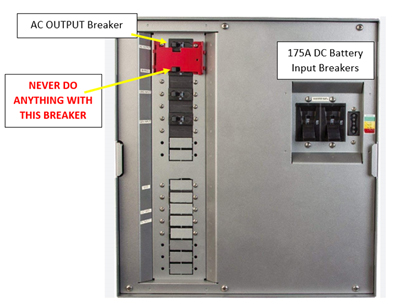
- Turn off the single AC OUTPUT breaker.
- Turn off the two 175A DC battery input breakers.

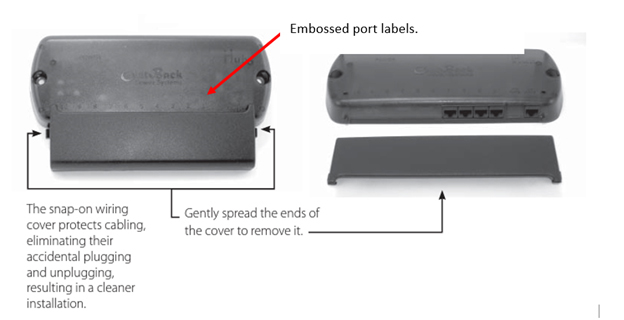
- Locate the HUB10.3. Remove the snap-on wiring cover from the bottom of the HUB10.3 that covers the Cat5 cables connecting to it. NOTE: The image below shows a HUB4. Your HUB10.3 will more ports on the bottom.

3. Identify the port assignments using the embossed numbers located on the plastic housing of the HUB10.3. PORT 1 is always the master inverter.
4. To switch which inverter is the master inverter, swap the Cat5 cable from PORT 1 with the Cat5 cable in the last inverter port.
5. Once the Cat5 cables from PORT 1 and the last port are swapped, turn on only the 175A DC breakers for the functional inverters.
- DO NOT turn on the AC OUTPUT breakers yet.
- DO NOT turn on any breakers for the problematic inverter which is now plugged into the last port.
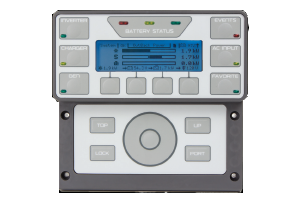
6. On the MATE3S system controller several errors and warnings will show. Disregard these for now.

7. Press the PORT button located at the bottom right-hand corner of the MATE3S, then enter the user password of 141 by spinning your finger around the wheel clockwise then pressing the center of the wheel to enter.
8. Press the center of the wheel to select “Settings” which will already be highlighted.
9. Use the wheel to scroll to “Inverter” and select by pressing the center of the wheel.
10. Use the wheel to scroll to “Stacking” and select by pressing the center of the wheel.
11. Make sure PORT1 is indicated on the screen. The stack phase will say “Slave”. Scroll to highlight the word “Slave” and press the button to change this to a “Master” stack phase.
12. Press the PORT button located at the bottom right corner to make sure that each of the other PORTs in use say stack phase Slave.
13. Press the “TOP” button twice to go back to the main system summary Home screen.
14. Press the “EVENT” hot key and then select “DETAILS.”
15. Press “Ack All” which will acknowledge all the latest events and turn off the red LED light. No more error or warning lights due to stacking issues should be showing.
16. Press the “INVERTER” hot key and change the inverter control to OFF then ON again to reset all four active Radian inverters.
17. Turn on the “AC OUTPUT” breaker for each of the functioning inverters to resume system operation.

